


One tiny detail can stop your UAE visa application in its tracks. The uae visa photo requirements are strict, and immigration systems reject thousands of photos every single week. A photo that looks perfectly fine to you may fail the automated checks within seconds. Consequently, your whole application stalls before a human officer ever sees it. Getting the photo right the first time is one of the easiest parts of the process to control. Notably, you do not need a studio or a professional photographer. You need the correct size, a pure white background, and a face that is clearly visible. Know the rules, follow them once, and your application moves forward without delays.
Travel to the UAE is booming again, and the visa offices are processing a high volume of applications. Consequently, even a small photo error can pull you out of the fast stream and into a rejection loop. Moreover, many applicants only discover the problem after they have paid the visa fee. Therefore, checking your photo before you start the form saves time, money, and frustration. The automated system reads every upload. Specifically, it checks the background colour, the framing, the lighting, and the file quality. If any element fails, the system returns the application instantly. Indeed, the easiest way to protect your plans is to meet the rules on the first attempt.
Zami Tours helps travellers from around the world secure UAE visas every day. Our team works with the official guidelines and sees which photos pass and which ones fail. Specifically, we understand how small differences in head size, background, and lighting affect the outcome. Furthermore, this guide reflects the practical lessons we have collected from real applications. We believe every traveller should be able to prepare a compliant photo at home, without expensive retakes or last-minute panic. Additionally, we keep the advice simple because visa photo rules should never feel complicated. Consequently, we have broken the rules down into clear, simple steps that anyone can follow.
In this guide, you will learn the exact UAE visa photo size, the only background colour that works, and the correct head position for a compliant image. You will also see the most common photo mistakes that trigger automatic rejection, plus a printable checklist you can keep beside your camera. Moreover, we will show you how to take the photo at home, how to fix a rejected photo, and how to upload it correctly on the visa form. Additionally, you will learn how to access the UAE visa application form and apply with confidence. Ultimately, by the end, you will know how to take the right photo once and submit it without delays.
UAE Visa Photo Requirements: The Exact Size and Dimensions
The first thing to get right is the size. Specifically, the standard UAE visa photo size for the printed copy is 4.3 centimetres wide and 5.5 centimetres high. That means 43 millimetres by 55 millimetres. This ratio matches what most immigration systems expect for a personal photo. If you want to confirm the exact uae visa photo requirements before you print, compare your file with the table below. Additionally, when you upload a digital photo, the form may ask for a different pixel size. Consequently, you should keep the original photo sharp and uncropped. The automated system measures the visible area of your face in relation to the frame. Indeed, correct framing matters as much as the dimensions themselves.
| Specification | Requirement | Details |
|---|---|---|
| Photo Size | 4.3 cm × 5.5 cm | 43 × 55 millimetres |
| Head Height | 70–80% of frame | Face clearly visible |
| Background | Pure white | No shadows or patterns |
| File Format | JPEG or PNG | High resolution, sharp focus |
The height of your head should fill roughly 70 to 80 percent of the photo. That means your face, from the top of your head to your chin, should dominate the frame. Check that your hair, ears, and jawline are fully visible. Additionally, avoid excessive empty space above your head or around your shoulders. When the face is too small, the system often rejects the photo for incorrect head size. Conversely, a face that fills the entire frame may lose the neck and shoulders. Therefore, keep the proportions balanced.
Why the Dubai Visa Photo Background Must Be Pure White
The background colour is the most common reason for automatic rejection. Dubai visa photo background requirements specify a plain white background. Moreover, the white must be even across the entire photo. Notably, off-white, cream, light grey, or beige all fail. Patterned walls, curtains, tiles, and brick textures fail as well. Additionally, the camera flash can also create a shadow behind you. Therefore, you need even lighting that removes shadows completely. The UAE Government Portal provides official guidance on UAE visa rules. Similarly, the General Directorate of Residency and Foreigners Affairs handles Dubai visa processing. Both authorities expect a clean white background with no distractions.
Why is white so important? Specifically, the automated system compares your face against the background. A clean white area gives it a clear edge, so the software can map your head position accurately. Furthermore, a white background keeps the photo consistent across different cameras and printers. If you stand in front of a light blue wall, the system may detect a colour that does not match the approved profile. Consequently, it rejects the photo within seconds. Many applicants are surprised by how strict the uae visa photo requirements are once the system runs. Indeed, you can avoid all of this with one simple step: find a plain white wall.
UAE Visa Photo Requirements for Head Position and Expression
Your head position decides whether the system accepts the photo. You must face the camera directly, keep your head straight, and look straight into the lens. Notably, your ears should be visible, and your head should not tilt to either side. Additionally, keep your chin level. Do not raise or lower it. Specifically, the camera lens should be at eye level. That means placing the phone or camera directly in front of your face.
Your expression also matters. Indeed, the rules require a neutral expression. That means no broad smile, no open mouth, and no raised eyebrows. Your mouth should be closed, and your eyes should be fully open. Furthermore, the photo must show your natural skin tone. Do not apply filters, beauty modes, or heavy editing. Moreover, the system reads facial proportions, and any alteration can cause a mismatch. Therefore, do not wear glasses. The frames can cover your eyes or create glare, and the automated system may reject the photo for that reason.
Religious headwear is permitted only if your full face, from forehead to chin, stays visible. However, hats, caps, and sunglasses are not allowed. Ultimately, the system wants one clear image of your face, with no barriers between you and the camera. If you want to avoid the headache of fixing a rejected photo later, apply with a compliant photo and let our team handle the rest.
Common Photo Mistakes That Trigger Automatic Rejection
Most rejections happen because of technical errors, not because of how the applicant looks. The cause is usually simple and easy to fix. Specifically, here are the mistakes that trigger automatic rejection most often. The background is not pure white. Additionally, the photo is too dark, too bright, or full of shadows. Moreover, the file is blurry, pixelated, or compressed. Furthermore, the head is too small or too large inside the frame. Besides, the eyes are closed, red, or looking away from the camera. Notably, the face is not centred. Old photos cause problems as well. Indeed, the rules require a recent image, normally taken within the last six months. Using an old passport photo is a common mistake.
Additionally, many applicants upload a photo with a yellow or pink colour cast. The automated system sees the wrong tone and rejects it. Moreover, filters and editing apps change the shape of your face. Even a small beauty filter can distort the distance between your eyes. The system compares proportions with a standard face model. Consequently, any distortion increases the rejection risk. Furthermore, low-resolution photos that look fine on a phone screen fall apart when the system enlarges them. Therefore, always export a high-quality image from the original file.
Notably, the fastest way to learn your photo has failed is a system message on the application portal. The rejection message usually appears within minutes. You will have to redo the photo and submit a new application. That costs time and, in some cases, a new visa fee. Consequently, it is far better to check every rule before you submit. Indeed, the fastest way to avoid these errors is to read the uae visa photo requirements before you take the photo.
How to Take a Compliant Photo at Home
You can take a perfect UAE visa photo at home with a smartphone. Additionally, find a white wall in a well-lit room. Make sure the light comes from in front of you, not from behind. A window behind you creates a backlit silhouette. Indeed, place a lamp or natural daylight source facing your face. Moreover, position the camera at eye level. Use a tripod or prop the phone on a stack of books. Furthermore, keep a gap between your face and the white wall to avoid casting a shadow.
Specifically, set the camera to its highest resolution. Additionally, turn off beauty filters and portrait mode blur. The system needs a crisp, real image. Therefore, take the photo in daylight if possible. Check the result by zooming in on your eyes. They must be sharp and clear. Retake the photo if any part of the frame looks soft. Moreover, check the background edge-to-edge. A single shadow can ruin an otherwise perfect photo. Checking your final file against the uae visa photo requirements takes less than a minute. If you are unsure whether your home photo meets the standard, you can contact our team and send it before you submit.
What to Wear for Your UAE Visa Photo
Your clothing matters more than you think. Wear a solid-coloured top that contrasts with the white background. A light blue, grey, or pastel shirt works well. White clothing may blend into the background and cause the system to lose the edge of your shoulders. Therefore, a medium or dark shade is safer for most applicants. Moreover, avoid busy patterns, logos, and stripes. The focus of the photo must stay on your face. Additionally, remove oversized earrings and heavy necklaces. The system reads the outline of your head and shoulders, and large accessories create confusion.
Makeup is not forbidden, but keep it natural. Conversely, heavy contouring can change the shape of your face in the photo. The same logic applies to headcoverings. Religious headwear is allowed, but your face must remain fully visible from chin to forehead. Hats, caps, and beanies are not allowed. Ultimately, the safest outfit is simple, solid, and comfortable. A clean look reduces the chance of a rejection message at the end of your form.
UAE Visa Photo Requirements for Babies and Children
Children need their own visa photo, and the same uae visa photo requirements apply to them. However, many parents assume a child can appear on a parent’s application. That is not correct. Every traveller, including newborns, needs a separate photo and a separate visa. Furthermore, babies cannot be held by a parent in the frame. The child must sit or lie on a white surface, with the face fully visible and eyes open.
For infants, the system allows a more relaxed expression. A baby’s mouth can be slightly open, and the eyes do not need to be as wide as an adult’s. However, the eyes must be open and looking at the camera. Moreover, the background must still be pure white. Use a white sheet spread flat to create a smooth surface. Notably, keep the camera at the baby’s eye level. A photo taken from above creates an unnatural head position and may cause rejection.
Once your child’s photo is ready, you can start the whole process in minutes. Therefore, apply with a compliant photo and keep your family trip on schedule.
How to Fix a Rejected Photo Before You Reapply
If your photo gets rejected, do not panic. Specifically, read the rejection message carefully. It usually tells you which rule failed. The message may say the background is not white. Alternatively, it may say the head size is incorrect. Subsequently, retake the photo with the correct rule in mind. However, do not edit the old photo. Editing cannot fix a distorted file. You need a fresh capture that meets every requirement.
Once you have a new photo, review it against the checklist in this article. Furthermore, ask someone else to look at it as well. A second pair of eyes often catches a shadow or a tilt. Additionally, remember that Zami Tours offers Visa Rejection Assurance. If immigration rejects your application, the visa fee is refunded in full. This means you can retry without losing money on the visa fee. When you reapply, submit the new photo right away. The UAE visa application form accepts a fresh image without any extra steps. Moreover, Indian applicants can calculate the total cost in rupees using our AED to INR converter before they pay.
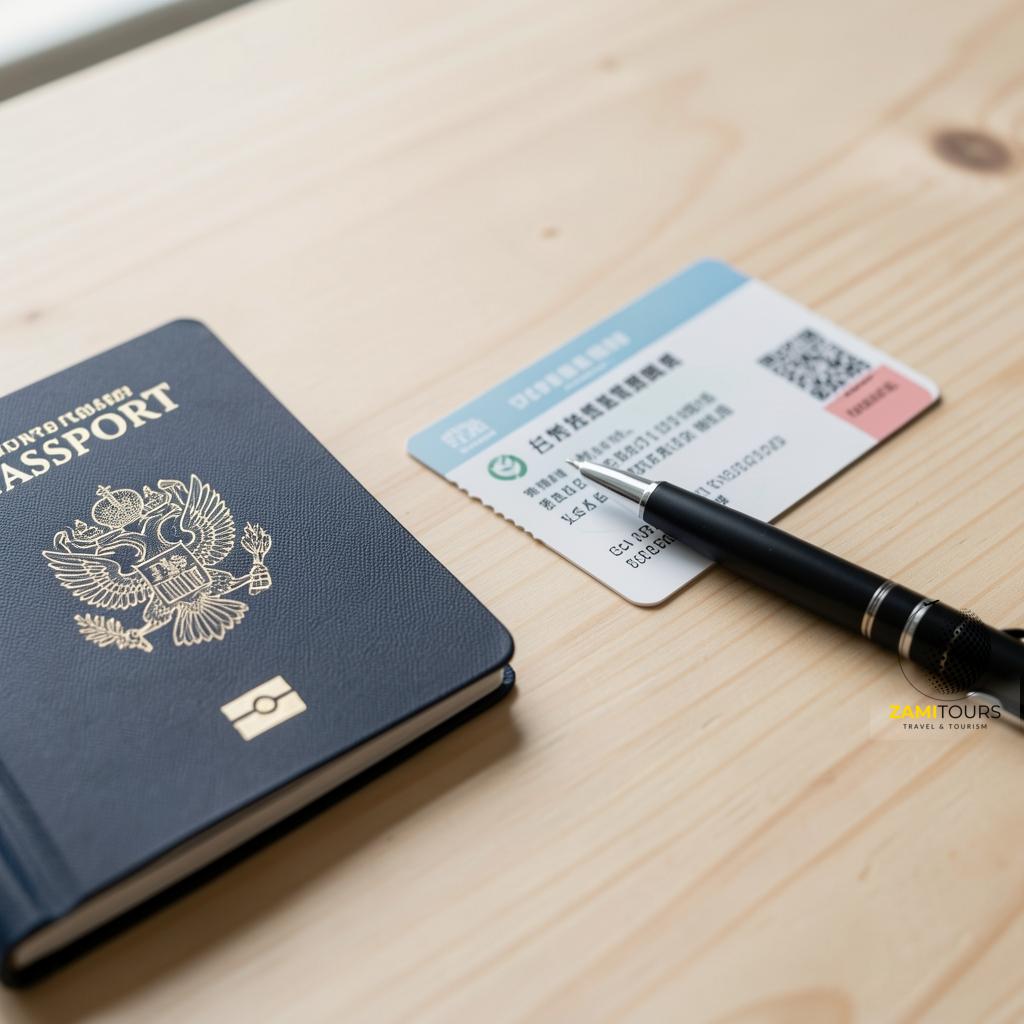
Digital Photo Specifications: File Size, Format and Resolution
The digital file needs to pass the same visual checks as the print. Additionally, most application forms accept JPEG or PNG files. Furthermore, the form usually imposes a file size limit, often around 2 MB. If the file is too small, the system may read it as low quality. If the file is too large, the form may refuse the upload. Therefore, keep the original resolution high and export the final file in a standard format. Meanwhile, avoid screenshots. A screenshot of a photo loses resolution and adds compression artefacts.
Indeed, resolution is equally important. A photo that looks clear on your phone may be too small for the automated system. Moreover, always use the original camera file. Specifically, check the pixel dimensions before you upload. Additionally, do not upload a photo that has been converted from a print. Instead, take the photo digitally and keep the original. This preserves the sharpness the system needs. The digital file follows the same uae visa photo requirements as the printed photo. You can verify the most current upload settings on the ICA Smart Services portal or through the Federal Authority for Identity and Citizenship.
UAE Visa Photo Requirements on the Application Form
When you fill in the UAE visa application form, the photo upload appears early in the process. The form asks you to attach a recent photo that follows the uae visa photo requirements described above. Therefore, prepare your photo file before you open the form. Subsequently, upload it carefully and review the preview. If the form shows a crop, check that your head still dominates the frame. Consequently, you avoid the most common cause of a stalled submission.
At this stage, it helps to work with a visa service that reviews your documents. Zami Tours accepts your details through a simple form and confirms that your photo and paperwork meet the requirements. Indeed, our online application form is built to help travellers avoid rejection-related delays. Moreover, you can open the UAE visa application form and complete it in minutes.
| Document | Requirement | Notes |
|---|---|---|
| Passport | 6 months validity | Full colour scan |
| Photo | White background | Recent, no glasses |
| Bank Statement | Last 3 months | Where requested |
| Hotel Booking | Confirmed | Full stay duration |
| Return Flight | Confirmed itinerary | Or onward travel |
| Travel Insurance | Optional add-on | Available during application |
Travel insurance appears in the table as an optional add-on. You can add it during the Zami Tours application if you want extra cover, or leave it out. However, it is not mandatory for every applicant.
The Printable UAE Visa Photo Checklist
Use this checklist before every submission. Print it or keep it on your phone, and confirm each line. Specifically, check the following items before you press the submit button.
- Photo size is 4.3 cm × 5.5 cm, or the size shown on the form.
- Background is pure white with no shadows or patterns.
- Head height fills 70–80% of the frame.
- Face is centred and looking straight at the camera.
- Eyes are open, with no glasses or sunglasses.
- Expression is neutral, with the mouth closed.
- Clothing contrasts with the white background.
- No filters, beauty modes, or heavy editing.
- File is a high-resolution JPEG or PNG.
- Photo was taken within the last six months.
- Child has a separate photo with eyes open.
- Digital file matches the form’s upload limits.
Additionally, run one final check on the preview image inside the form. If anything looks off, take a new photo and upload it again. The checklist exists so you can take the photo once and apply without delays. Indeed, this is the entire goal of the uae visa photo requirements.
Moreover, if you need a quick answer about your specific photo, you can chat with our visa team on WhatsApp.
Frequently Asked Questions
What is the UAE visa photo size?
The standard size is 4.3 cm × 5.5 cm, with your head filling 70 to 80 percent of the frame. Keep the original file sharp and clear.
What background colour is required?
A pure white background is required. Off-white, cream, grey, patterned walls, or shaded areas cause automatic rejection. Use even lighting and remove all shadows before you shoot.
Can I wear glasses in a UAE visa photo?
No, glasses are not recommended. They cause glare or cover the eyes, and the system may reject the photo. Remove sunglasses entirely and choose contact lenses.
Can I smile in a UAE visa photo?
A neutral expression is best. Keep your mouth closed and do not show teeth. Avoid smiling broadly, as this can cause rejection. Look straight at the camera.
How can I fix a rejected photo fast?
Read the rejection message, retake the photo with the correct rule in mind, and upload the new file. Do not edit or reuse the old photo.
Do babies need a separate UAE visa photo?
Yes, every traveller, including newborns, needs a separate photo. The baby’s eyes must be open, and the background must be pure white. The same rules apply.
Can I take the photo at home?
Yes, use a white wall, even lighting, and a camera at eye level. Turn off filters and shoot in daylight. Check the result before uploading.
How do I apply with a compliant photo?
Prepare your photo, open the UAE visa application form, upload the file, and review the preview. Moreover, you can apply with a compliant photo through Zami Tours.
Getting your photo right is the simplest way to keep your UAE visa application moving. The uae visa photo requirements cover size, background, head position, expression, and the digital file. Indeed, each rule exists so the automated system can read your face clearly. Follow them, and you remove the most common cause of rejection. Moreover, use the printable checklist in this article every time you prepare an application. It turns a complicated set of rules into a short routine. Once the routine becomes a habit, the whole process feels faster and less stressful.
Zami Tours specialises in UAE tourist visas and supports travellers from many countries. Moreover, our team knows exactly which photo mistakes cause delays and how to avoid them. We make the application process straightforward, so you can focus on the rest of your trip. Additionally, our team follows the official guidelines closely, so small errors get caught early. Our guidance helps you avoid the small mistakes that slow down most applications. Whether you are applying for a short stay or a longer holiday, a compliant photo gives you the best possible start.
Now that you know the rules, the next step takes minutes. Therefore, open the UAE visa application form and upload your compliant photo. If you are not sure whether your photo is perfect, send it to our team first. Moreover, you can apply with a compliant photo right now and let Zami Tours handle the rest. Your trip is ready. Your visa should not wait.
Need Visa Assistance? We’re Here to Help! 🎯